Curried Vegan Broccoli Fritters

IMG_8640.JPG

Not long ago I tried a recipe for a chickpea frittata that inspired me to use the concept for a vegan fritter full of finely chopped broccoli and quinoa. The vast majority of fritters use eggs and some sort of cheese and it isn’t always easy to find a vegan version. This one is packed with anti-inflammatory and anti-cancer compounds from the curry powder and broccoli.

Broccoli is part of the incredibly special cruciferous (brassica) vegetable family, which also includes cabbage, cauliflower, Brussels sprouts, and my favorite kale, among others. What makes this family of veggies so special, and so deserving of your attention, is that they are packed with nutrients and phytochemicals - most notably sulforaphane - that protect your DNA from damage (many researchers say that these veggies can even repair DNA damage) and thus they protect against numerous forms of cancer (including breast, prostate and lung cancer, among others). Cruciferous vegetables also tend to be very nutrient dense and high in fiber.

These fritters cook really well when they are prepped ahead of time. Much like when making socca (chickpea flatbread), the garbanzo bean flour and water mixture becomes more cohesive as it sits for longer. Beyond that, there is another big reason to prep these in advance: in order for sulforaphane (the important anti-carcinogenic compound) to form, it needs an enzyme called myrosinase. BUT, myrosinase is destroyed with cooking so you need to eat cruciferous vegetables in their raw form to get the benefit, with a couple exceptions. One exception is that if you chop up the broccoli first and then wait some amount of time (the article I reference below says 40 minutes), then the enzyme does its job to form the sulforaphane and because sulforaphane itself isn’t heat-sensitive, once it is formed you can cook your broccoli all you want.

For those of you who really get into this stuff, you will probably enjoy this article that goes into more detail.

But, in summary, to get the maximum health benefits from this recipe, prep the mixture in advance and let it rest in your fridge until you’re ready to cook later.

I love these fritters with this parsley pesto on the side; the earthy curry and the bright pesto go really nicely together. They are also nice with some avocado on top.

If you make them, or adapt them in some way, please let me know!!

~~~~~

Curried Vegan Broccoli Fritters
Inspired by the Chickpea Omelette recipe (pg 34) from Happy Food by Bettina Campolucci Bordi

Notes: I almost always have cooked, unsalted quinoa in my fridge. If what you have on hand is salted quinoa, then reduce the salt in this recipe to 1/2 teaspoon or so.

1/2 cup garbanzo bean flour
1/2 cup filtered water
3/4 teaspoon sea salt
1/2 teaspoon baking soda
1 tablespoon apple cider vinegar
1 cup cooked quinoa (unsalted)
1 1/2 cups broccoli, chopped small
1 large garlic clove, finely chopped
4 teaspoons curry powder
Olive oil for cooking

Combine the garbanzo bean flour, water, sea salt, baking soda and apple cider vinegar together and whisk well to combine. It will fizz a little bit due to the combination of the baking soda and vinegar. Let this sit for about 10 minutes while you prep the rest of your ingredients.

Add the quinoa, broccoli, garlic and curry powder to the garbanzo bean mix and stir well. At this point you can cook the fritters now or, as I usually do, throw the mix into the fridge until you’re ready to use it (see text above for why I do this).

When you’re ready to cook, put a large nonstick skillet over medium/low heat and add some olive oil. I use my 12-inch cast iron skillet for this. Use a spoon to form four fritters on the pan. Cook for 15-20 minutes on the first side. I sometimes gently move the fritters around after about 10-12 minutes for even browning, but please note that you need to let them sit on the pan for at least that long else they won’t hold together. After they are browned on the bottom, flip and cook for about 10 minutes on the second side. You will have to flip gently because these don’t have eggs.

Serve with pesto, avocado or plain and enjoy!

Serves 4

Print Friendly and PDF

Hot Chocolate Mix

IMG_7268.jpg

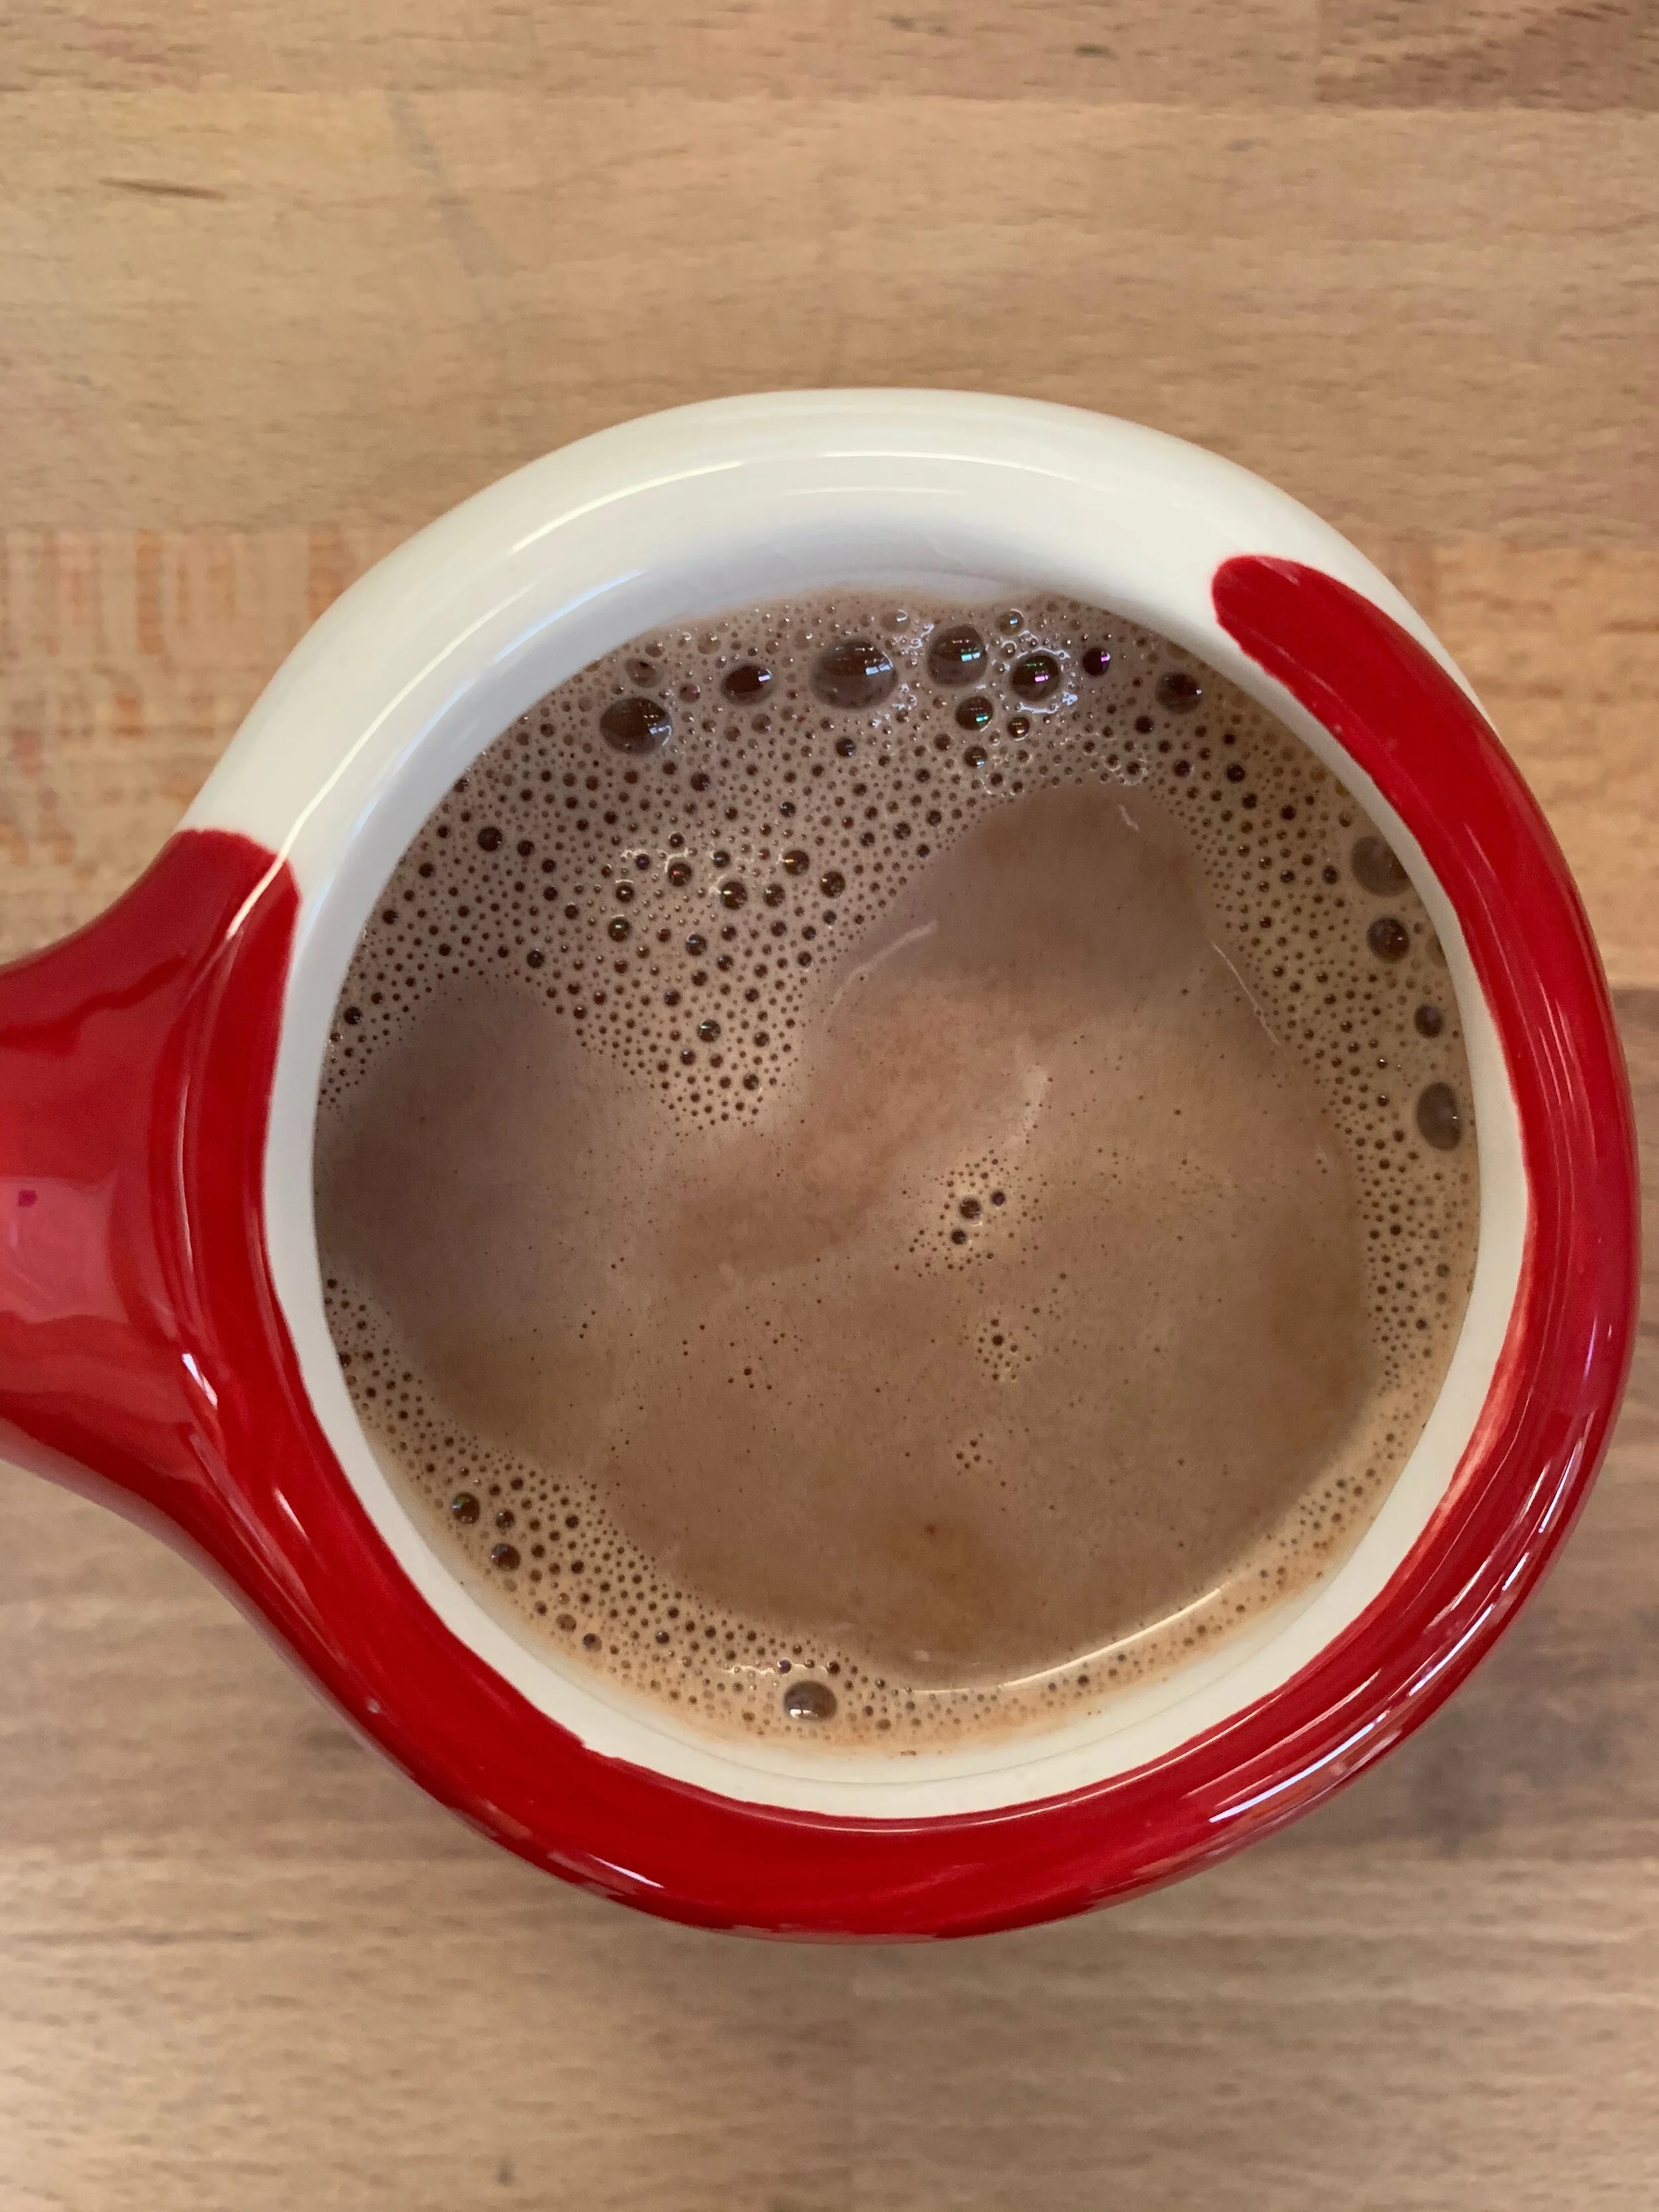
Some time ago I started to make my own hot chocolate mix and this December, probably because a new wave of the pandemic and the holidays have descended on us at the same time, my hot chocolate making is in full force. I’ve been making it for the kids in the evenings when we read stories before bed and for just a few moments it makes me feel like everything is simple and perfect in the world. That, in my opinion, makes the effort completely worth it.

I’ve adapted this recipe from Smitten Kitchen and it couldn’t be easier. It lasts for quite a while in a repurposed 16oz nut butter jar. Coconut sugar works beautifully here; it’s just the right amount of sweetness without the blood sugar spike. I also use arrowroot powder rather than corn starch because it’s an easier starch to digest. If corn starch is what you have around, use that instead!

I love that this mix is dairy-free so you can choose what milk works for you and your family and go from there.

I hope you’re getting a little time to practice some self care during this holiday season in this most unusual year. xx

IMG_7267.jpg
IMG_6044.jpg

~~~~~

Hot Chocolate Mix
Adapted from the Decadent Hot Chocolate Mix on smittenkitchen.com.

Special equipment:
Food processor

1/2 cup (80 grams) coconut sugar
1 tablespoon arrowroot powder
3 ounces (85 grams) 70% dark chocolate chips
1/2 cup (35 grams) unsweetened cocoa/cacao powder
1/2 teaspoon vanilla extract
1/8 teaspoon fine grain sea salt

Put all the ingredients in a food processor and blend until you have a fine powder. As mentioned above, I store the mix in a repurposed 16oz nut butter jar.

To make hot chocolate, warm up however much milk you’d like on the stove and whisk in 3 tablespoons of hot chocolate mix for every 1 cup of milk. Pour into mugs and enjoy and/or serve to some very excited kids :)

Print Friendly and PDF

Zucchini Noodles

IMG_6952.jpg

I recently realized that I don’t have a single noodle recipe on this website; a situation that needs to be corrected. Because I try to cook meat no more than once a week, noodles are a go-to in my kitchen. One of my favorite brands is Tolerant - noodles made from legumes. Here, I used Tolerant Green Lentil Rotini. Yes, alternative noodles taste different but the pay-off in grams of fiber is very high and thus, in my opinion, totally worth it :)

This recipe is meant to be a quick weeknight staple. The zucchini mixture comes together in no more time than it takes to cook the noodles. You can use more or less zucchini, and more or less garlic. There is no need to measure. If you don’t have fresh thyme, throw in a pinch of dried thyme. Letting the zucchini soften and cook in a good amount of olive oil really makes this dish. I find it immensely satisfying to make a nourishing meal in very little time and with very few ingredients, and I trust that you do as well.

~~~~~

Zucchini Noodles

Note: When I cook noodles, I cook them with a good amount of sea salt and then the finished dish requires very little, if any, additional salt. Obviously, if you cook your noodles unsalted, you will need to add quite a bit more salt at the end.

8 oz package of your choice of noodles
Good glug of olive oil (you’ll probably use more than one glug)
2 medium zucchini, grated
3 cloves of garlic, finely chopped
Several sprigs of thyme, leaves stripped
Juice of half a lemon, to taste
Sea salt to taste (see note above)

To serve:
Chopped parsley or mint
Toasted slivered almonds

Cook your noodles according to the directions on the package (see my note on salt above).

Meanwhile, heat a large skillet over medium heat, pour in a good glug of olive oil and add the grated zucchini (because this is is meant to be a super-quick recipe, I often grate my zucchini straight into the skillet). Stir well, then add the chopped garlic and thyme leaves (which I also strip straight into the skillet). Let this mixture saute for about 5-7 minutes, stirring every minute or two. I turn off the heat when I start to scrape the zucchini off the bottom with my spatula. If it’s looking dry over the course of this time, feel free to glug in some more olive oil.

When your noodles are finished cooking, quickly drain them, then add them to the zucchini mixture and gently toss to incorporate. Season with the lemon juice and sea salt, as needed.

Serves 4-6

Print Friendly and PDF